
I’m Six Months Into The Curly Girl Method And I’m Never Looking Back (Before And After Photos)

by Katie Pace
This was me – circa 1984.
With my untamed, wild curls. Not long after these were taken, my poor mother, with no clue what to do with curly hair, started brushing it. It became so big and frizzy that my school PE coach once told me I looked like I’d stuck my finger in an electrical socket. Which of course gave me a goal to promptly make it…unelectrifying.


I spent years laying over the side of the bed while my mom would try to diffuse it upside down. Through most of my adolescence, I used heaps of gel to try to keep the curls intact, which instead gave me a hard, protective helmet. I used to fantasize about what it was like to have super fine, super straight, super brown hair. It seemed so…normal.
Finally, when I was in college, the heavens parted, and a golden beam of heat came down in the form of a perfect, black and gold hair straightener. It was everything I had ever dreamed of. I could finally have “regular” hair. Hair I could run my fingers through. Hair I could brush like other girls. Hair I could flip and toss around like they did in the movies.

It would only take me 45 minutes of drying plus another 45 of layer-by-layer flat-ironing and never allowing any moisture to come within 100 feet of it, but I didn’t care. I could finally blend in. So, I began straightening it like it was my job. This continued for almost two full decades.


Cue 2020.
Why would I keep straightening my hair when I’m not even seeing anyone or going anywhere? But I started noticing that my curls didn’t really…exist anymore. I just had flat, dry, thinning hair. So a friend suggested I check out some Instagram accounts of so-called “Curly Girls,” women with curly hair who are following the “Curly Girl Method.”
The Curly Girl Method is based on a book called Curly Girl: The Handbook, by Lorraine Massey, which details a process of exploring your curly or wavy hair’s full potential through the right products, the right cut, the right style techniques, and the right protection. I read it in a few hours, and then dove into online forums and Instagram accounts dedicated to “celebrating” curls. I followed them deep down the rabbit hole in a solid effort to rediscover my curls – and perhaps maybe even a love for them.
Now six months into the Curly Girl Method, I can tell you that after 40 years of not knowing how to actually “do” my hair, I’m finally on the right track to figuring it out – and embracing the curls I was born with. If you’re looking for something to help you manage or bring out your curls (or even waves!), trying to get them back, or just figuring out what the hell to do with your kinky, curly, crazy, hair – here are the down and dirty basics to get you started (from an amateur who is still figuring it out alongside you).
Bonus: there are before-and-after photos at the bottom, since that’s all any of us really care about.

1. Moisture
The basis of The Curly Girl method is to keep hair hydrated. Us curlies tend to have much drier hair, and therefore, it’s more prone to frizz that becomes like Velcro, sticking together and causing tangles and breakage. But the more moisture curly hair has, the more “slip” it creates, allowing locks to clump together (in a good way) to form silky, bouncy curls and prevent knots and snarls. So, everything you do with your curls will revolve around quenching your mane’s thirst and keeping the hydration balanced (you can in fact over moisturize too, but that’s for another time). More moisture, less messy mop.
2. CGM Approved Products
One of the main ways to keep hair hydrated is to make sure you’re always using products that meet all CGM standards. To be clear, there isn’t some official Curly Girl Method product line – because life isn’t that easy, curlies. But everything you use from the shampoo to the gel must be CGM-okayed. Which means it can’t have any sulphates, silicones or alcohols. Because while those may cleanse or style your hair, they simultaneously dry. it. out.
Amazingly, there are apps and sites like isitcg.com, curlbot.com and curlscan.com that let you check your products, and sometimes even just scan a barcode. So, ditch your old bottles (but please recycle), and start researching the ones that are best for your hair.


There are a LOT of products out there. And depending on your hair type, some may work beautifully, and some may make your hair appear…well…worse. It will depend on how thirsty your hair is and how much moisture it can hold. As a “fine curly,” my hair can’t take any oils or butters. It just makes it greasy and weighs it down.
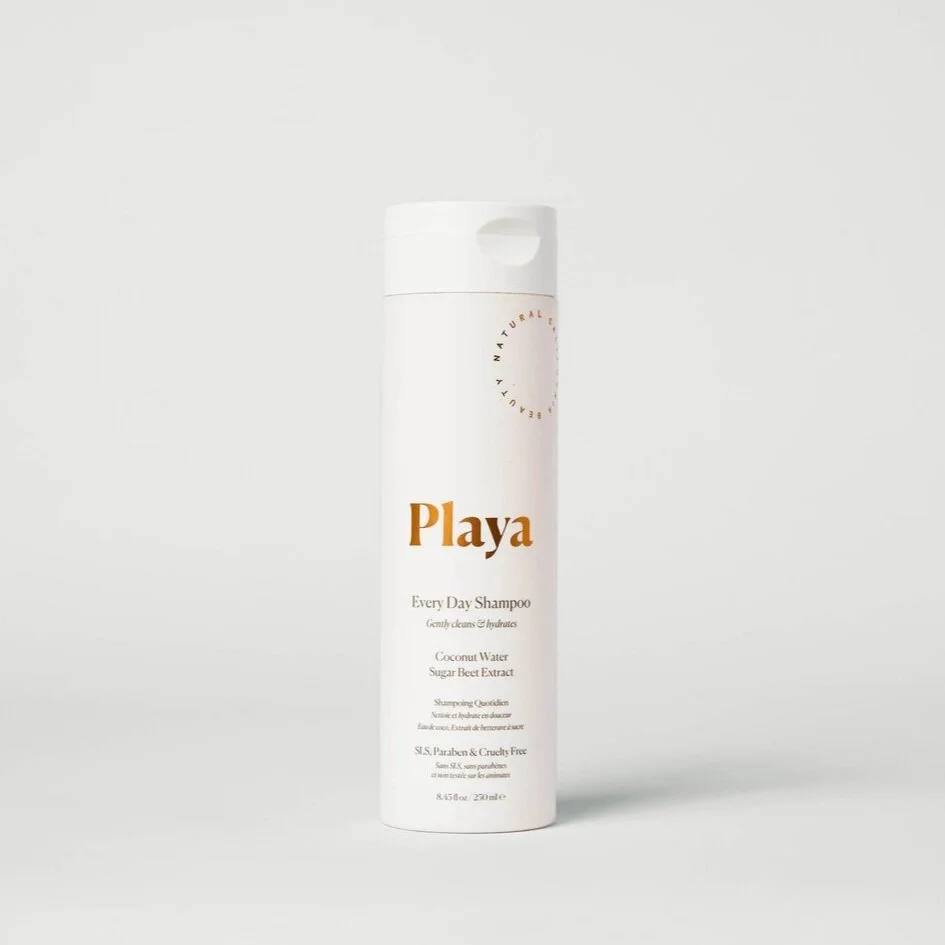
But those curlies with thicker and maybe coarser hair may need those heavier products to keep the slip. It will take some trial and error to figure it out. But you don’t need to spend a ton to get started. Some favorites of mine and lots of other curlies with all hair types are listed below:

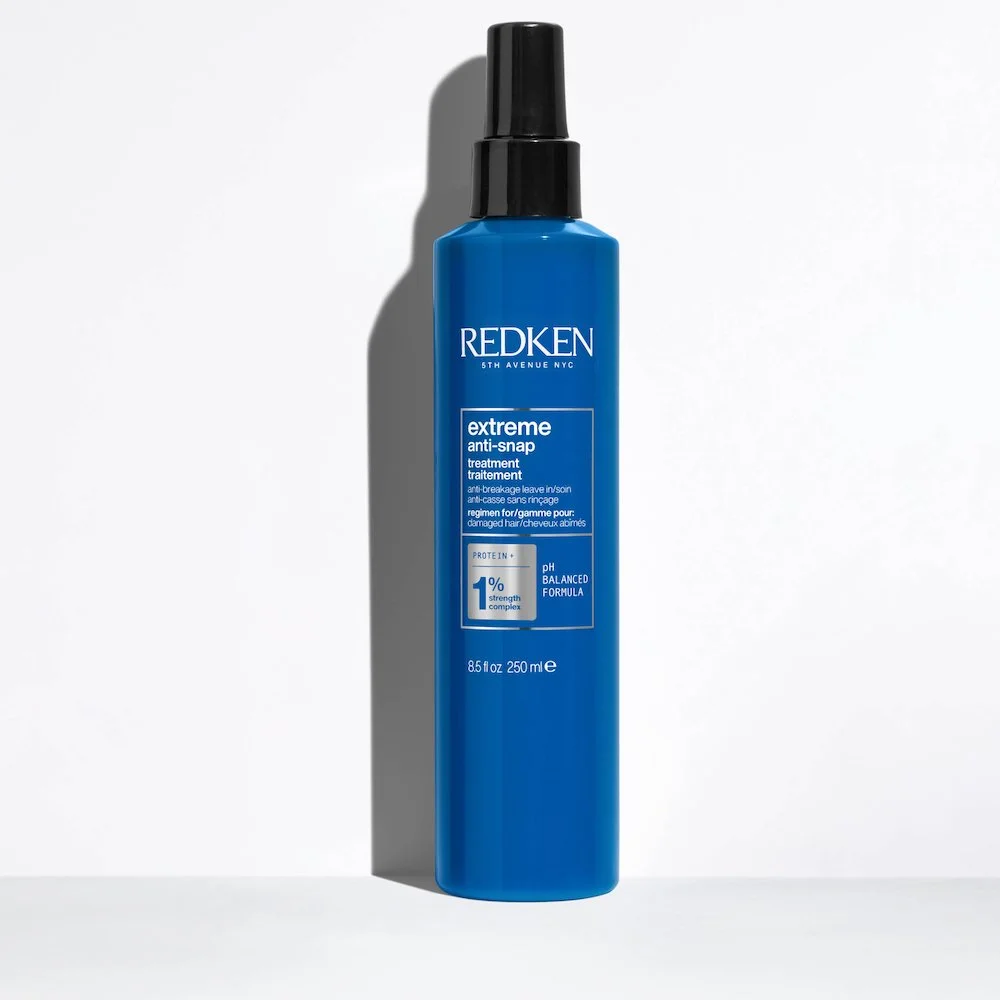
1. Aussie Instant Freeze Sculpting Gel

2. Giovanni Tea Tree Shampoo

3. Kinky Curly Leave-In Detangler


4. Curls Blueberry Bliss Leave-In Conditioner

5. Innersense Beauty Hydrating Cream Hairbath

6. Not Your mother’s Curl Talk Mousse
3. Curl Styling
The way you style your curls can feel like a foreign language when you start to really get into it. There’s lots of talk about scrunching, raking, roping and praying over hair. (It’s not actually praying to Gods – although if there ARE hair gods, they are using CGM). But it’s the different methods of applying conditioner, mousses and gels to your hair.
How you distribute the product can make a world of difference, and while it’s a slightly different process for everyone, the suggested method is to use your fingers and hands and follow the curl pattern of your hair. Then you’ll apply a mousse or gel to keep the moisture locked in. Once the gel is COMPLETELY dry, you will experience a blast from the past a la 1993 with your helmet head. BUT. This time, you get to do what they call “scrunch the crunch.” Where you literally scrunch your hair until it’s no longer crunchy. And it is wondrously soft with moisture intact.

4. No Heat
One of the chief characteristics of the CGM is no-heat styling. Heat is what dries out those tresses, killing all the work you just did to hydrate your hair. Flat irons, steamers, and high-heat, high-powered dryers can really wreck your work.
That being said, using a great diffuser on a blow dryer with a low-heat, low-speed setting makes all the magic happen. Please note I said magic, not miracles. But slow and steady wins the race here.

5. Protection
In her book, Lorraine Massey says that curly hair is like a cashmere sweater. You’re not going to wash and treat it the same way that you would a cotton shirt. Hear that, Curlies? You’re not average cotton; you’re frickin’ cashmere. So treat your head the same. And that means keeping it safe from breakage and frizz-inducing damage.
So how do you keep it protected? There are a few ways:
Don’t over wash it. Keeping your wash days to a couple times a week will help prevent drying. You can also use a “low-poo” or “no-poo” cleanser to keep your scalp clean without parching your hair.
Condition, condition, condition. Keep that slip with a leave-in and a once-a-week deep conditioning treatment.
No brushing! Remember what happened to me when my mom brushed my hair? You’re doing that to your hair without even knowing it – just probably to a lesser degree. So ditch the brush and get a good wide toothed comb or this angel of a brush that helps detangle curls. Just remember to either brush your hair when wet, once the conditioner is in, or before you shower. And quit touching it once it’s styled.
No towel drying. Bottom line: towels frizzle your hair. Just wrap it in a t-shirt. The end.
Shield from sleep. Curlies sleep like old ladies with caps on their heads. Don’t worry – it’s worth it. Can’t be worse than the retainer. There are lots of options for what to sleep in, but satin bonnets, sleep scarves and buffs (which are my personal preference) are the usual go-tos. Add in a silk or satin pillowcase and you’re golden. You’re a lot more likely to have your curls intact the morning after and for a few days after.

A PSA for protecting your curls at night. This was a night I forgot. Oops.
6. Curly Cuts
I’d heard of curly cuts before. I just thought that meant any salon that claimed to cut curly hair. Nope, I was wrong.
I found out that a true curly cut is with a stylist certified in certain curly techniques. Specifically a Deva Curl or Ouidad certified specialist. You can find their list of hair salons and stylists with all the pros near you here and here. They both cut differently, one wet and one dry, but either way, a true curly cut changes the game.
7. CG Help
Your best resources are fellow curly girls on Instagram. There are SO many wonderful curl influencers out there (I can’t believe I just wrote that) with a wealth of knowledge that you can stalk. They’ll walk you through all the curl talk and vocabulary like plopping, pineappling and porosity, so you’re not completely in the dark. I recommend following lots of them, but definitely seek out women with hair similar to your own as well.
The great thing about curly girls is that you can be any age, any race, and any gender, and have a mane that needs taming. My husband is even a curly guy who follows the methodology for his own incredible curls. (He’s going to kill me.) Here are a few of my favorite follows:
Here are those aforementioned before-and-afters that I promised:
Before I started the Curly Girl Method.

Two months into it.

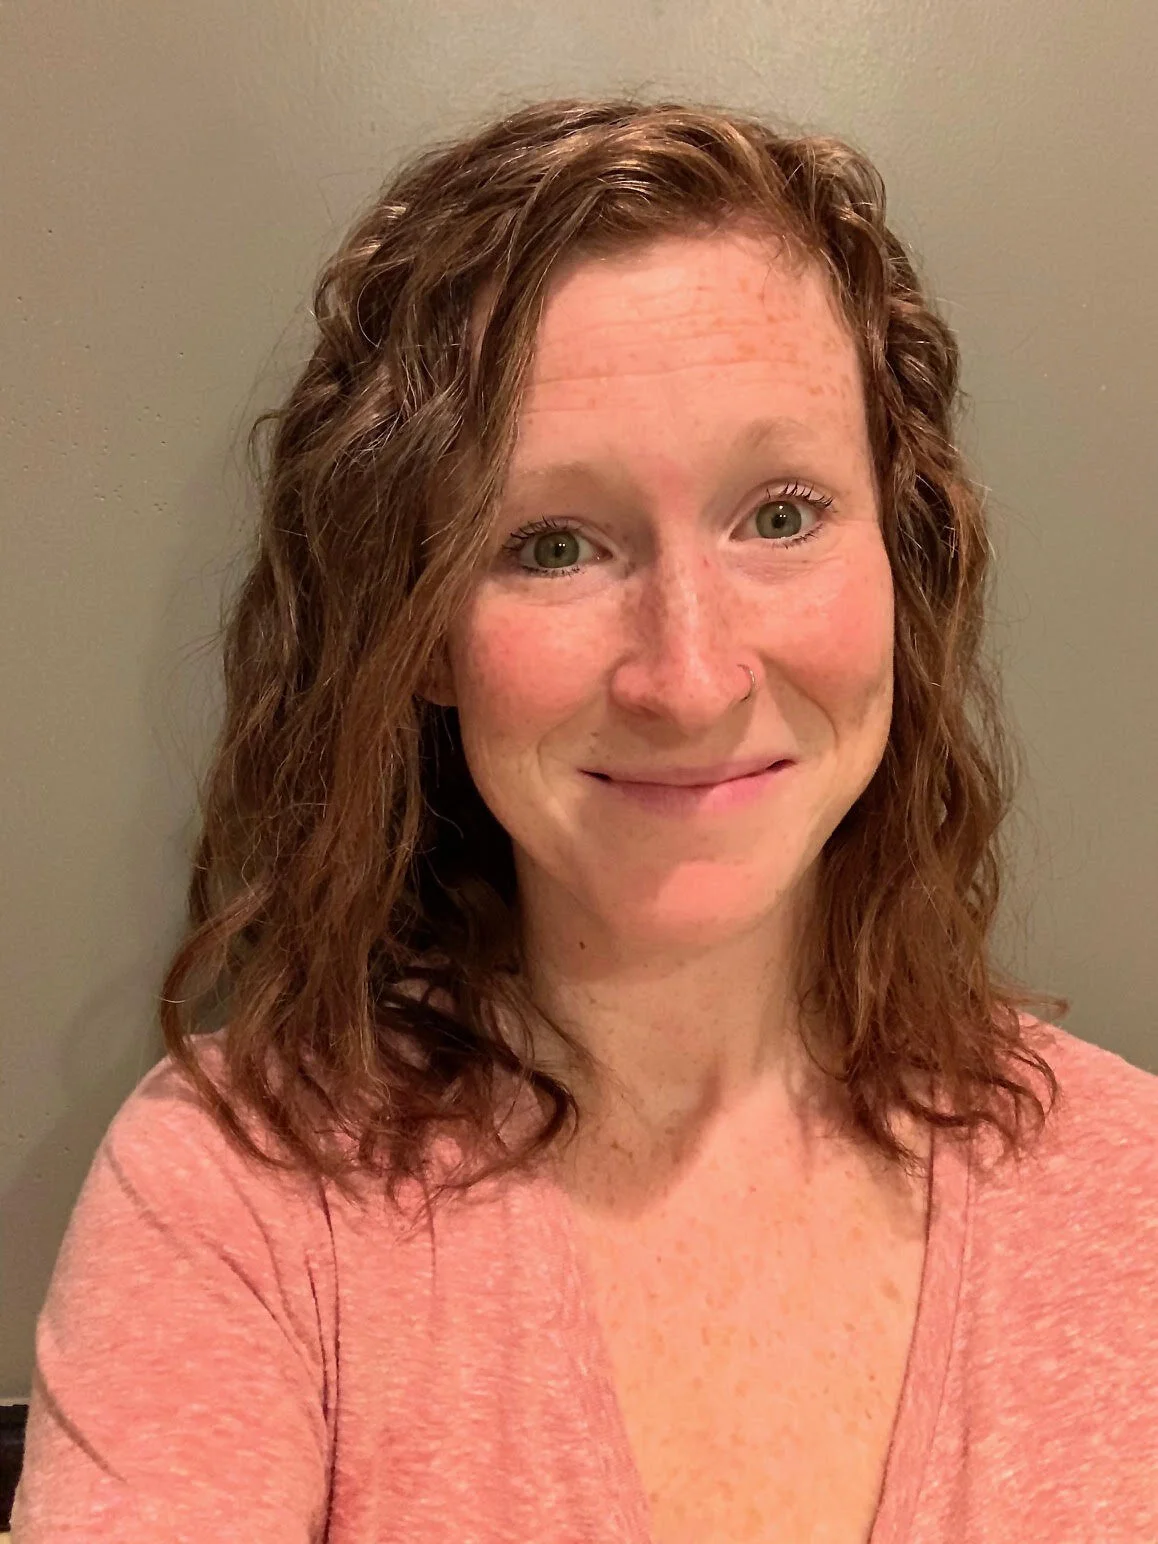
Literally today, six months in.
8. Time
The biggest factor in Curly Girl success is time. Bottom line. Your previously dried, fried, and frizzed hair is going to take some time to rehydrate, retrain, and grow. Growing out the damage is part of the work. The hardest part is suffering through all the bad hair days you’re going to have along the way. (Quarantines help this!) But I can promise you that if you stick with it, keep learning and keep experimenting, it’s going to get better. And that you’ll start to see the kinks, waves and curls you were really meant to have. And love!
At only six months in, I am not a fully satisfied customer quite yet. But I’m excited to see my end result.
And excited to then look up that asshole PE teacher.

Katie Pace is an LA based ex-ad creative who is now a writer by day and everything-elser by night. You can find more of her articles here.
